Problem/Question
How to upload graphics to the printer
Applicable To
SATO All-In-One-Tool (AIOT)
Resolution/Answer
1. Click the [Add] button.
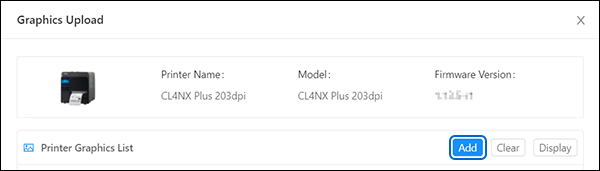 The [Add Graphics] dialog is shown.
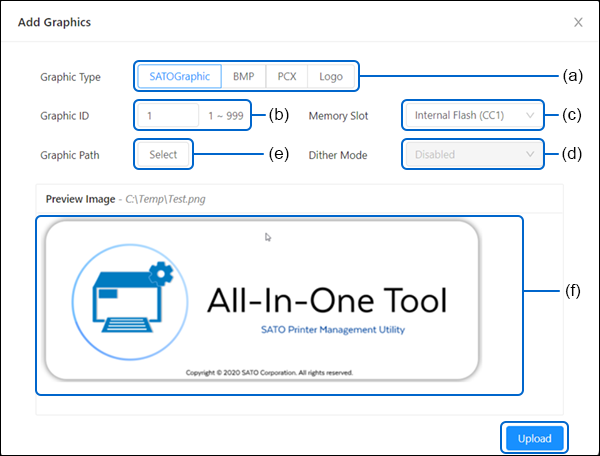
2. Select the [Graphic Type] (a) for the graphic that you want to upload.
3. Enter the identification number of the graphic in the [Graphic ID] text box (b).
The next available identification number for the selected graphic type is shown as default.
4. Click the [Memory Slot] drop-down list (c) and select the memory location that you want to save the graphic.
[Memory Slot] is not available if [Logo] is selected in [Graphic Type].
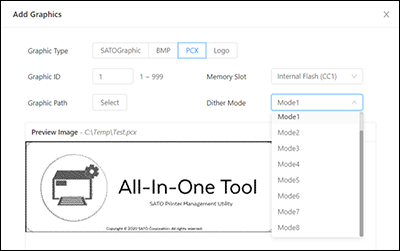
5. Click the [Dither Mode] drop-down list (d) and select the dithering effect.
The Dithering effect feature is only applicable if you have selected [BMP], [PCX] or [Logo] in [Graphic Type]. It allows the uploading of graphics with color fading effects.
6. Click the [Graphic Path] selection box (e) to select the graphic file from the PC file system.
The selected graphic is shown in the [Preview Image] box (f).
7. Click [Upload].
- When the [Dither Mode] is set, the [Preview Image] box shows the output of the dithering effect.
Comments
0 comments
Please sign in to leave a comment.